

How To Trusted Devices On Iphone
Back in July, we provided you with an overview of Apple's two-step verification. This is the security method that requires at least two factors of authentication—a password and a trusted device—in order to successfully access an account.
Two-step is a great security method, because it forces one to have physical access to a security key, in this case, an iPhone or an iPad.
Needless to say, we here at iDB highly recommend using 2SV for any account that allows it, Apple ID, or otherwise. In fact, if a service that you're using doesn't offer 2SV, I'd seriously think twice about using that service—it's that important for keeping your data secure.
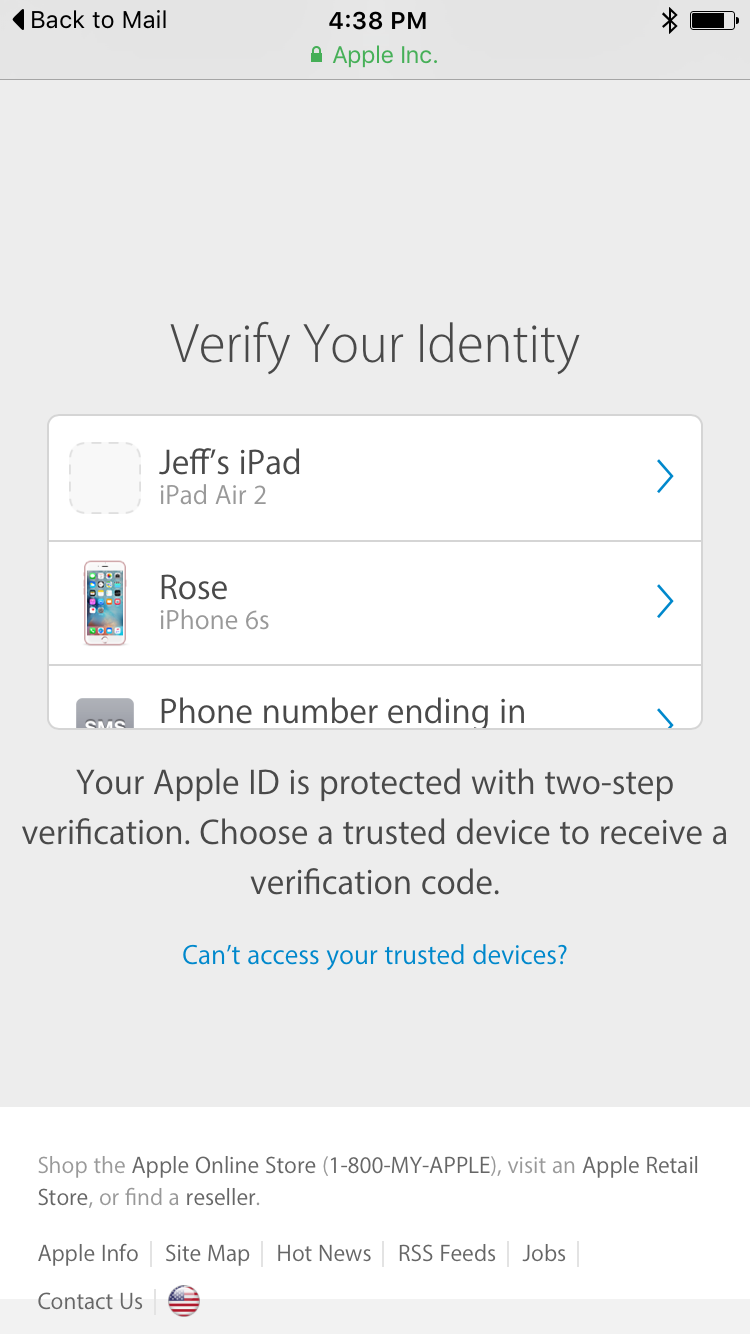
If you have two-step enabled for your Apple ID, and you should, then you've doubtlessly run into the screen that asks you to verify your identify when logging in with your Apple ID. On that screen, it may list some of your Apple devices, and at least one verified phone number. These devices act as security authentication keys.
Have you ever wondered what the requirements are for the devices that are listed here? Have you ever wanted to remove or add a device? In this tutorial, we'll walk you through managing your iOS trusted devices for two-step verification.
How to add a trusted device
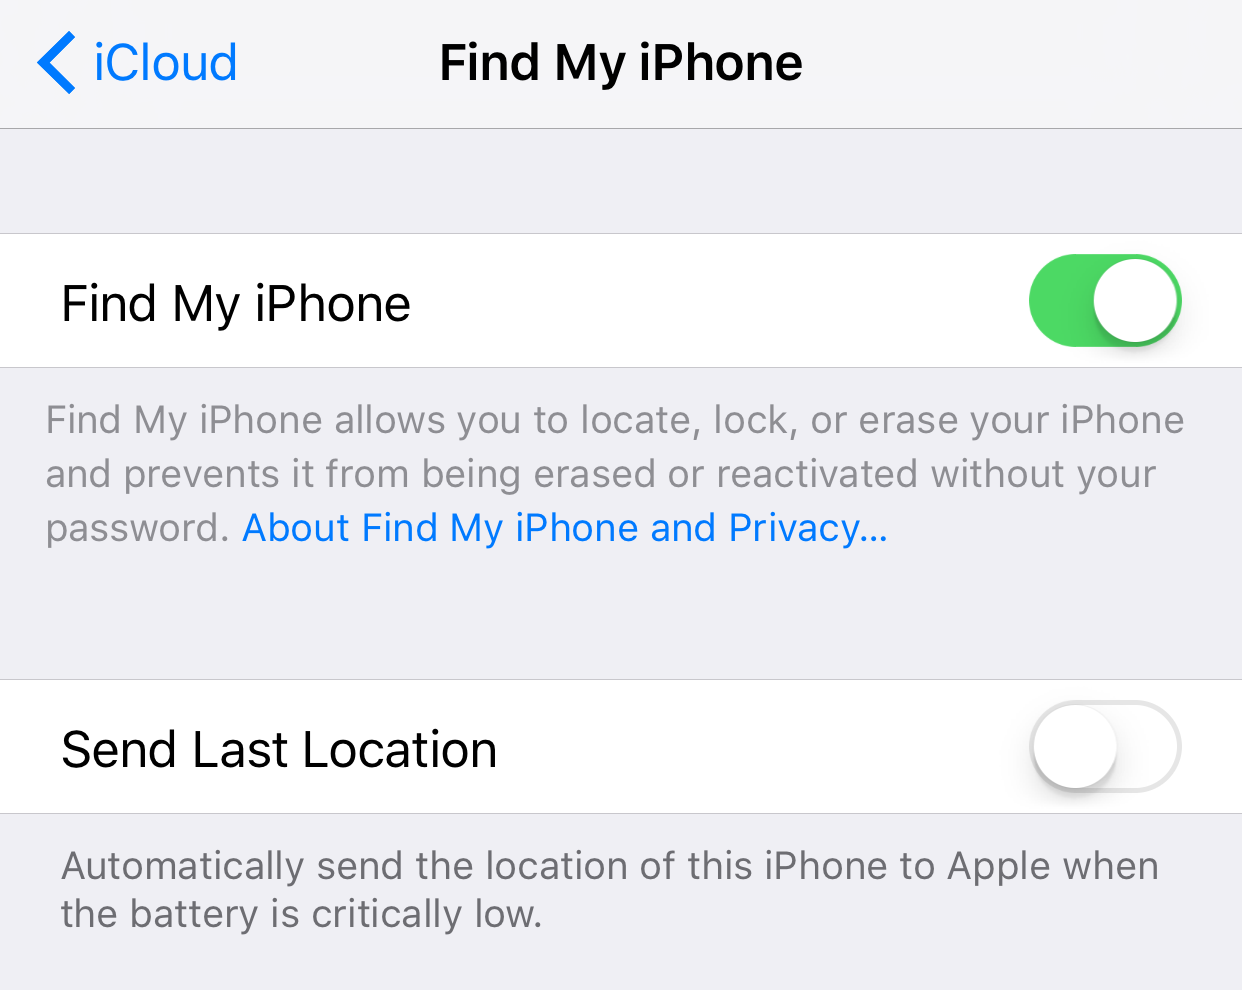
To add a trusted device to your list of possible security keys, one needs to simply enable Find My iPhone after logging in with iCloud on an iPhone, iPad, or iPod touch. Once Find My iPhone is enabled, that device is automatically added to your list of trusted devices. Once a device is listed in your trusted devices, you'll need to verify that device.
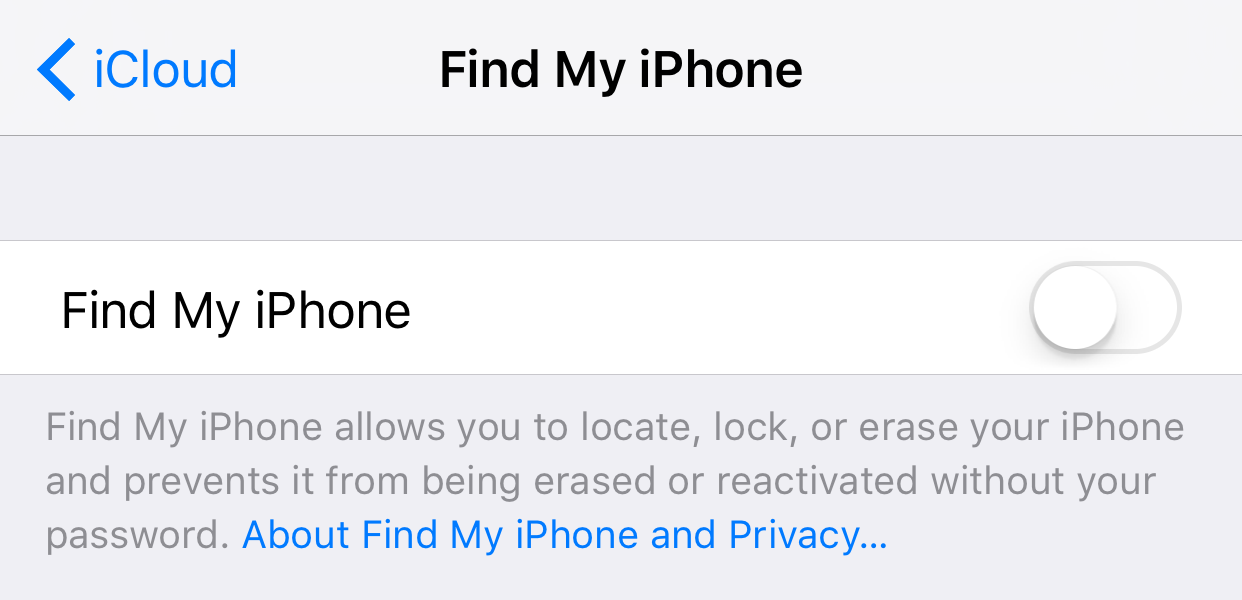
Step 1: Log into iCloud and enable Find My iPhone on the device you wish to use as a trusted device via Settings → iCloud.
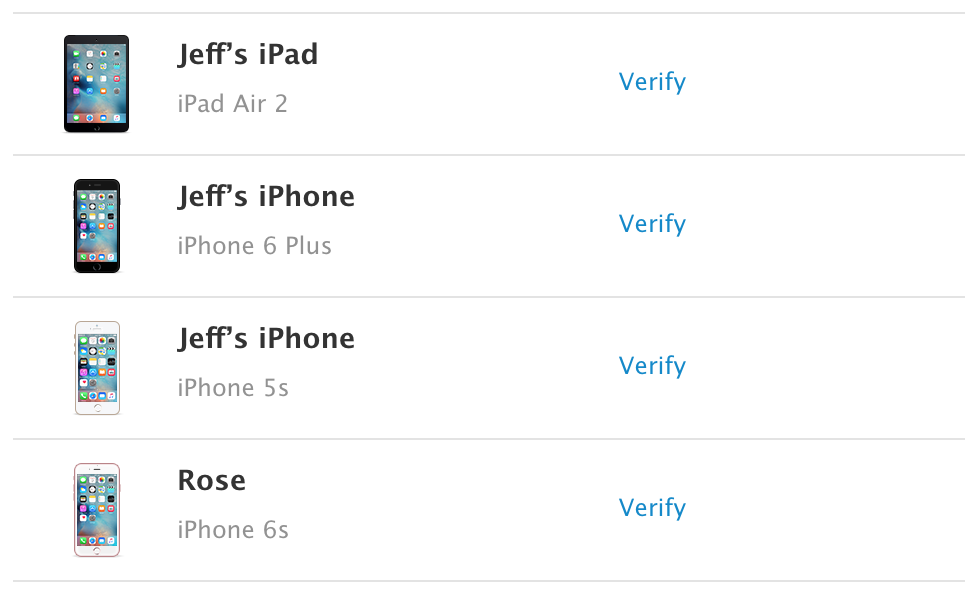
Step 2: Via Safari, login to My Apple ID → Password and Security → Add or Remove Trusted Devices.

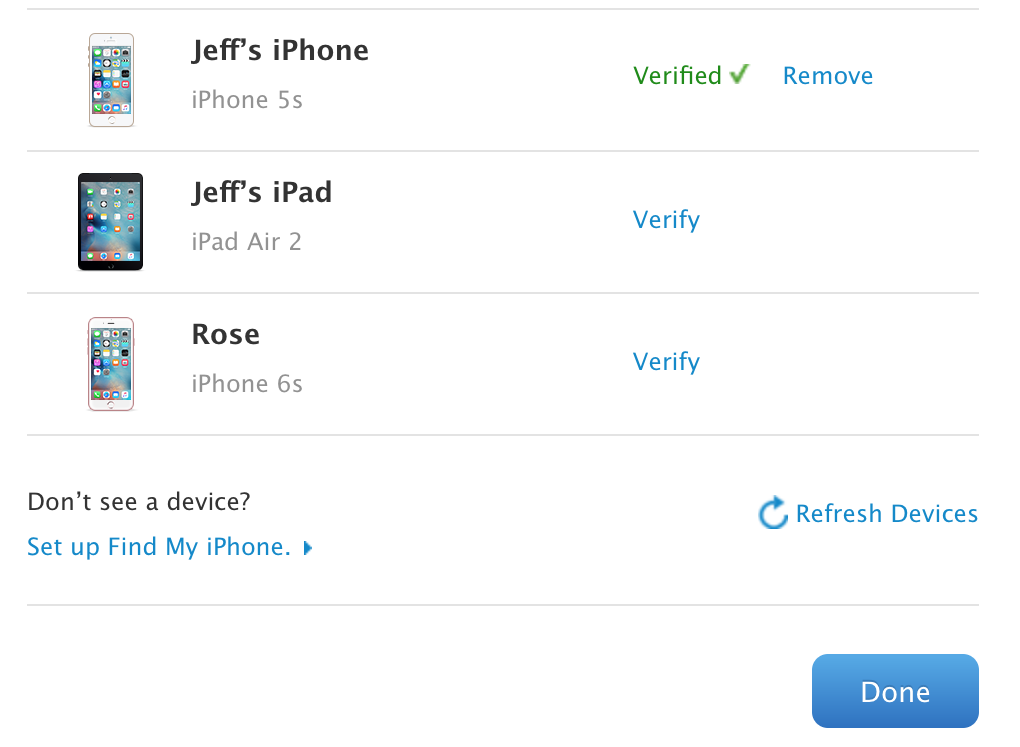
Step 3: Click the Verify link next to the device that you wish to enable as a trusted device.
Step 4: On the device that you wish to enable, you will see a four-digit Verification Code.
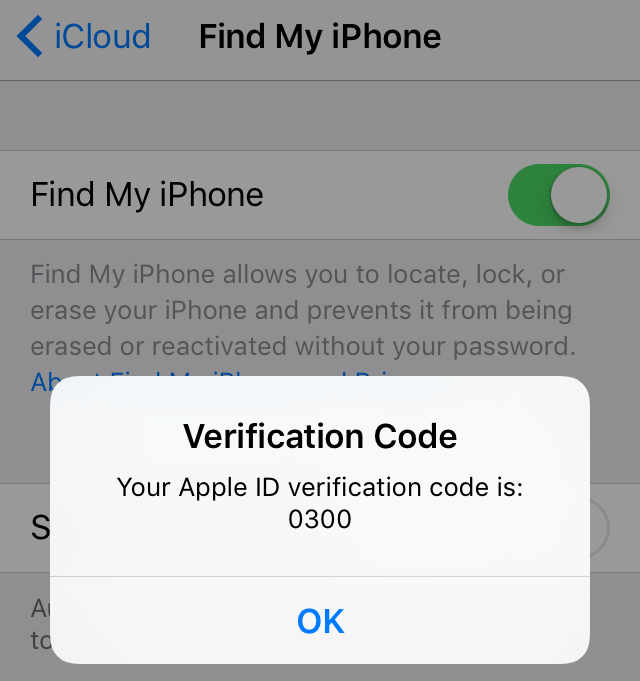
Type this code into the box that appears inside of the Safari browser and click Verify Device.

You will now see your device as a trusted device that has been verified. Now, whenever you need to use two-factor authentication to log in with your Apple ID, you will be able to use the device you just enabled as a security key.
How to remove a trusted device
It's no surprise that you can also remove a trusted device. When you sign out of iCloud or disable Find My iPhone, your device is no longer verified, but will still appear in your list of potential trusted devices.
Step 1: Disable Find My iPhone on the Device.
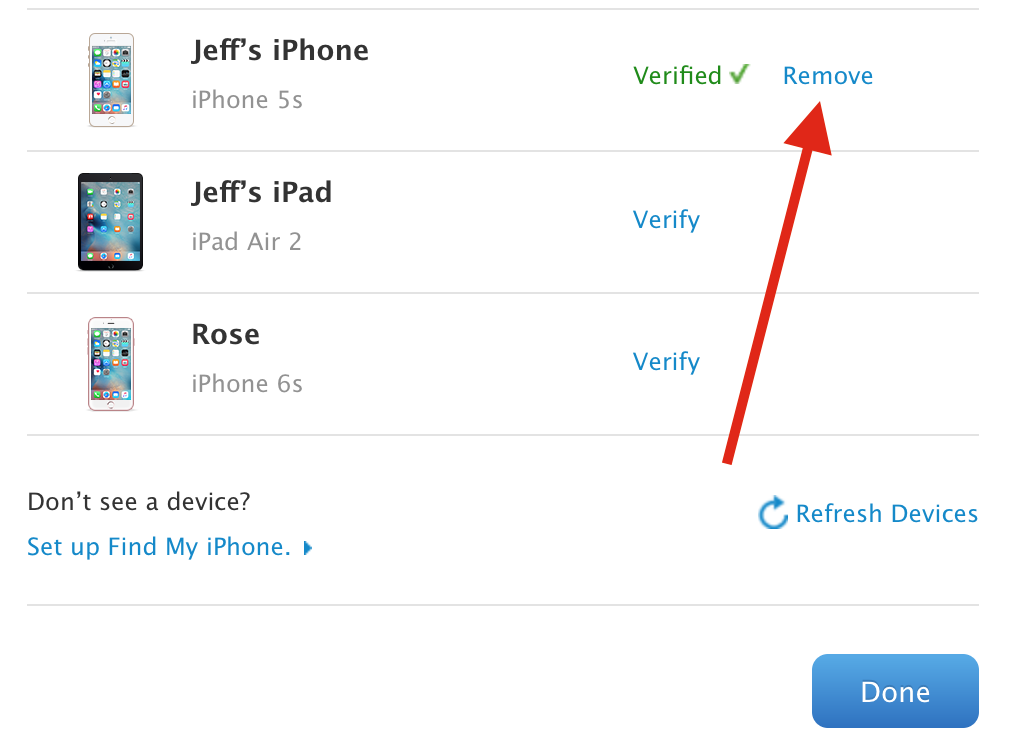
Step 2: Via Safari, login to My Apple ID → Password and Security → Add or Remove Trusted Devices.
Step 3: Click the Remove link next to the device that you wish to remove.
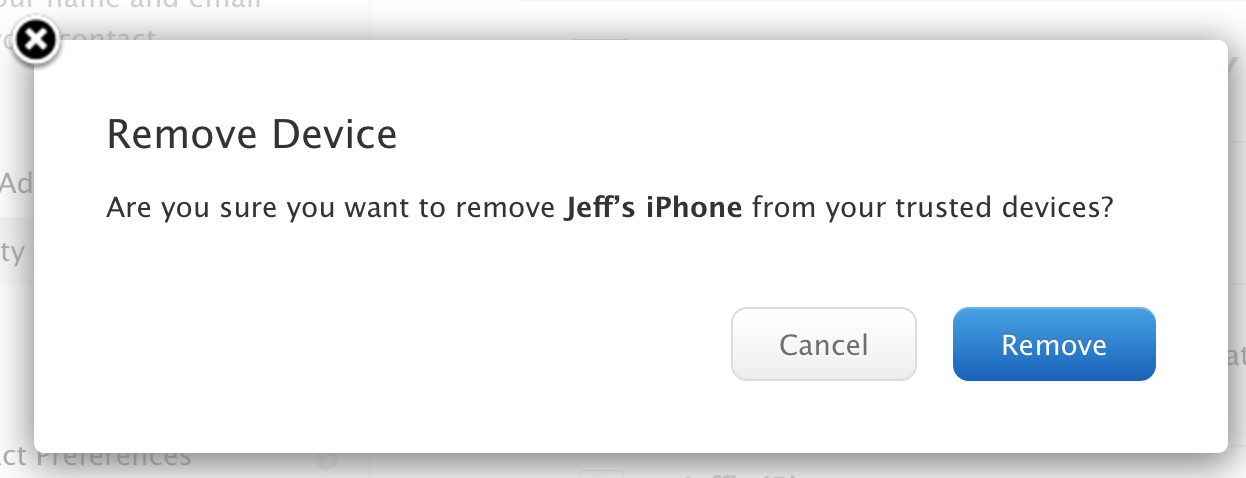
And confirm its removal.
And that's pretty much it. That's how you add and remove trusted devices to you Apple ID's two-step verification security setup. You should regularly visit this page to manage your trusted devices, especially if you're someone who often switches out and changes devices.
Do you use two-factor authentication with your Apple ID? If not, why?
How To Trusted Devices On Iphone
Source: https://www.idownloadblog.com/2015/10/23/add-remove-trusted-devices-apple-id-two-factor-authentication/
Posted by: owenwonscalun.blogspot.com
0 Response to "How To Trusted Devices On Iphone"
Post a Comment